
Quick Answer: Microsoft Teams lets you record yourself presenting by starting a meeting with just yourself, turning on your camera, sharing your slides, and using the built-in “Record and transcribe” option. The recording processes automatically and appears in your meeting chat and OneDrive once you stop it. This guide walks through the process step by step.
Key Takeaways
- You do not need to invite anyone else — a solo Teams meeting works for recording yourself.
- Recording is controlled through the “More actions” menu on the meeting toolbar.
- Finished recordings are processed automatically and saved to OneDrive and the meeting chat.
- Exact menu wording can vary slightly between Teams versions, so use this as a guide to the general flow.
A note before you start: Microsoft occasionally updates the Teams interface, so button positions and labels may look slightly different depending on your version. The overall flow below stays consistent even when small details shift.
Recording yourself through Teams has a real advantage over other tools: because it’s built into software your university almost certainly already provides, there’s nothing extra to install, and the recording integrates directly with your university account and storage. This makes it a sensible default choice if your assignment brief doesn’t specify a particular recording tool, and it produces a file format widely accepted by university submission platforms.
1. Start a Solo Meeting
Open Teams and select “Meet now” (sometimes shown as a camera icon on the Calendar tab) to start an instant meeting. You don’t need to invite anyone — a meeting with only you in it works perfectly well for recording a presentation.
If “Meet now” isn’t immediately visible, check your Calendar tab on the left-hand sidebar, where it usually appears alongside options to schedule a new meeting. Some university Teams setups organise the interface slightly differently, so if you can’t locate it after a brief look, your university’s IT help pages are a reliable place to check for exact wording.
Tip: Use your university Teams account if your brief requires the recording to be traceable to your student account, rather than a personal one.
2. Turn On Your Camera and Check Audio
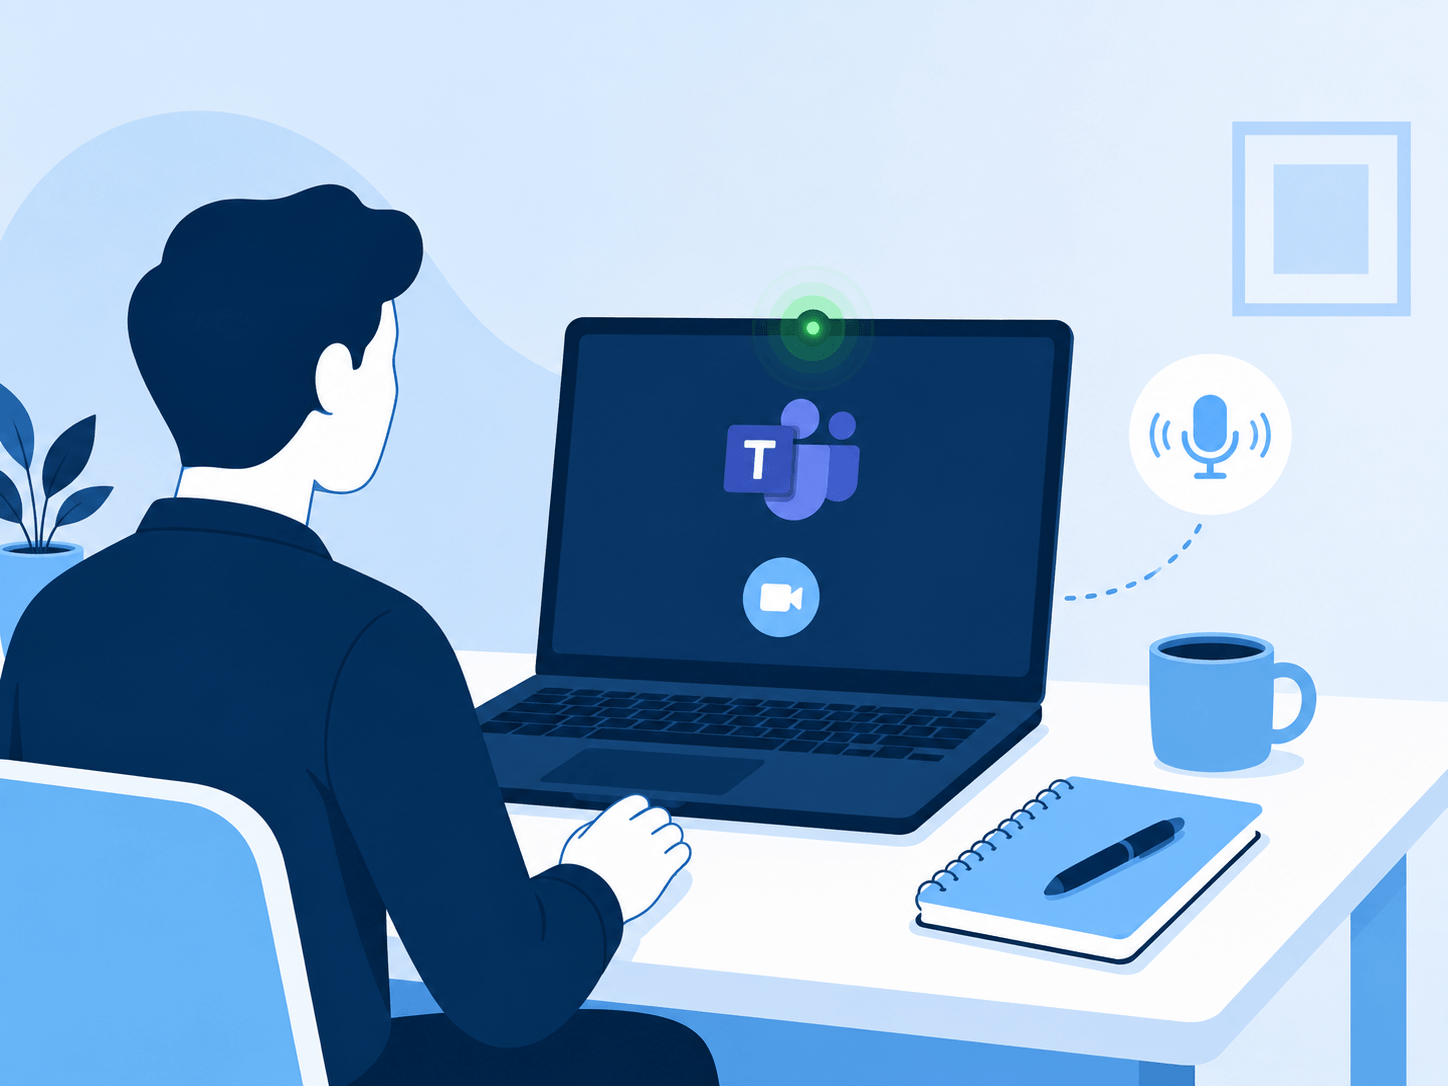
Before joining, or once inside the meeting, turn your camera on if you want to appear on screen, and check that your microphone is picking up sound clearly. This is the moment to fix lighting or background issues, before anything is being recorded.
Teams also offers background effects — blur or a virtual background — accessible from the same pre-join or in-meeting settings. These can be genuinely useful if your surroundings aren’t ideal, though a real, tidy background usually looks more natural than a virtual one if you can arrange it.
3. Share Your Slides, If Needed
If your presentation involves slides or a document, select “Share screen” and choose the specific window or PowerPoint file you want your audience to see. If you’re presenting only to camera, skip this step entirely.
When sharing PowerPoint specifically, Teams usually offers a dedicated “PowerPoint Live” option alongside a generic screen share. This tends to give a cleaner result, since it displays your slides directly rather than sharing your whole screen — reducing the risk of notifications or other windows appearing in the recording by accident.
4. Start Recording
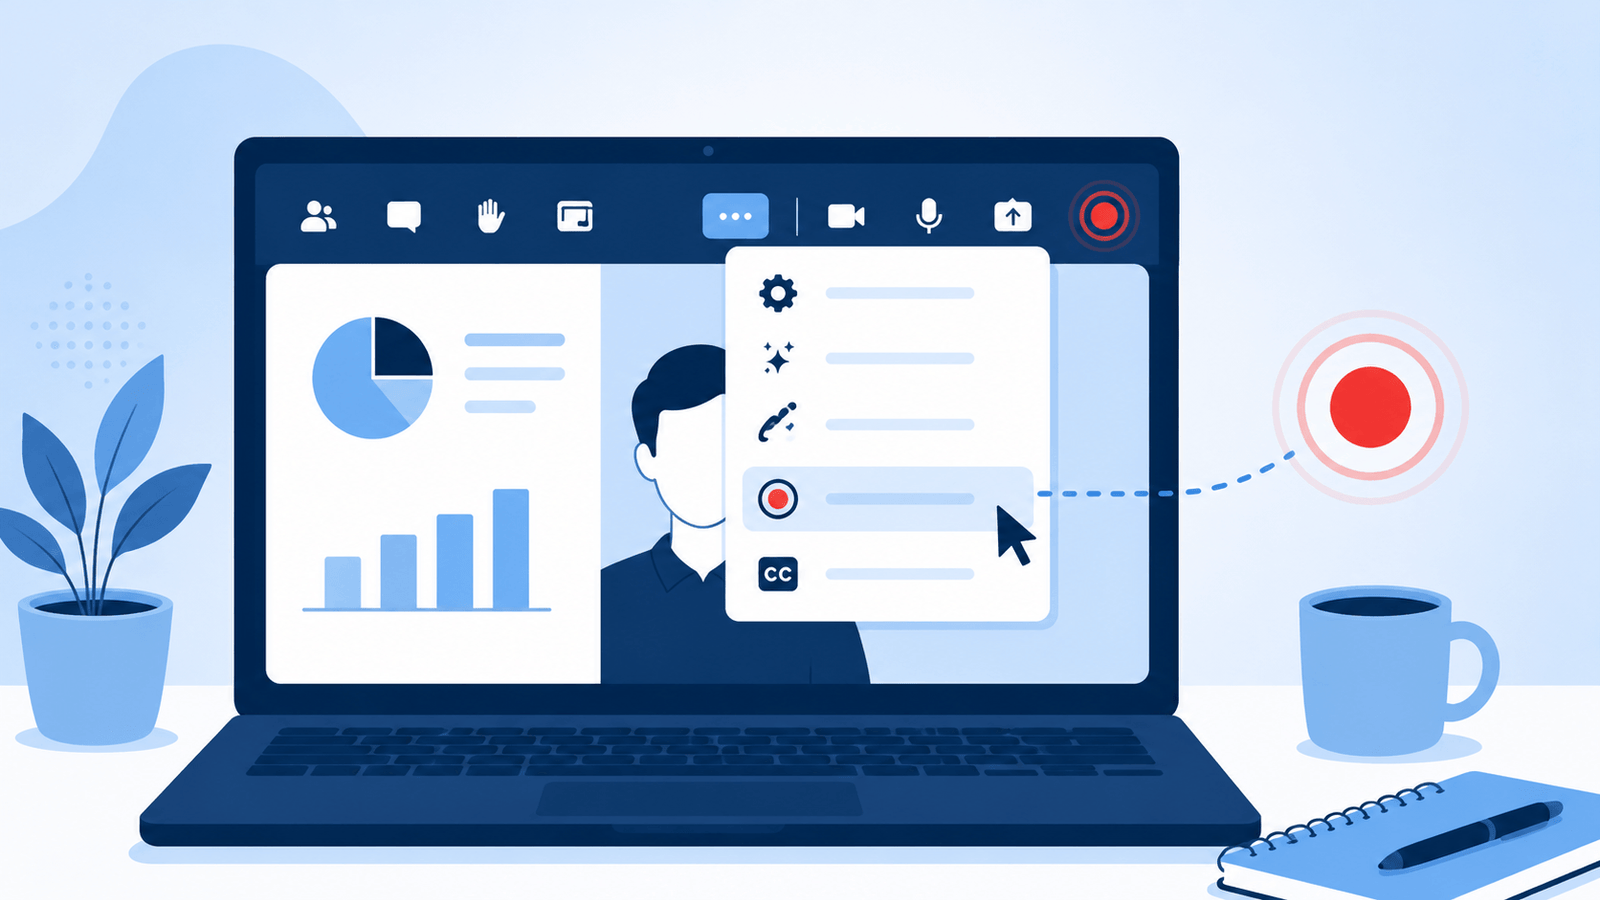
Open the “More actions” menu (the three dots on the toolbar) and select “Record and transcribe,” then “Start recording.” Teams will usually notify anyone in the meeting that recording has begun — in a solo meeting, this notification is just for your own confirmation that it’s running.
5. Present as Planned
Deliver your presentation as rehearsed, working through your script or talking points. If your version of Teams allows recording in segments, you can pause and resume rather than restarting from the beginning if something goes wrong partway through.
6. Stop Recording and Locate the File
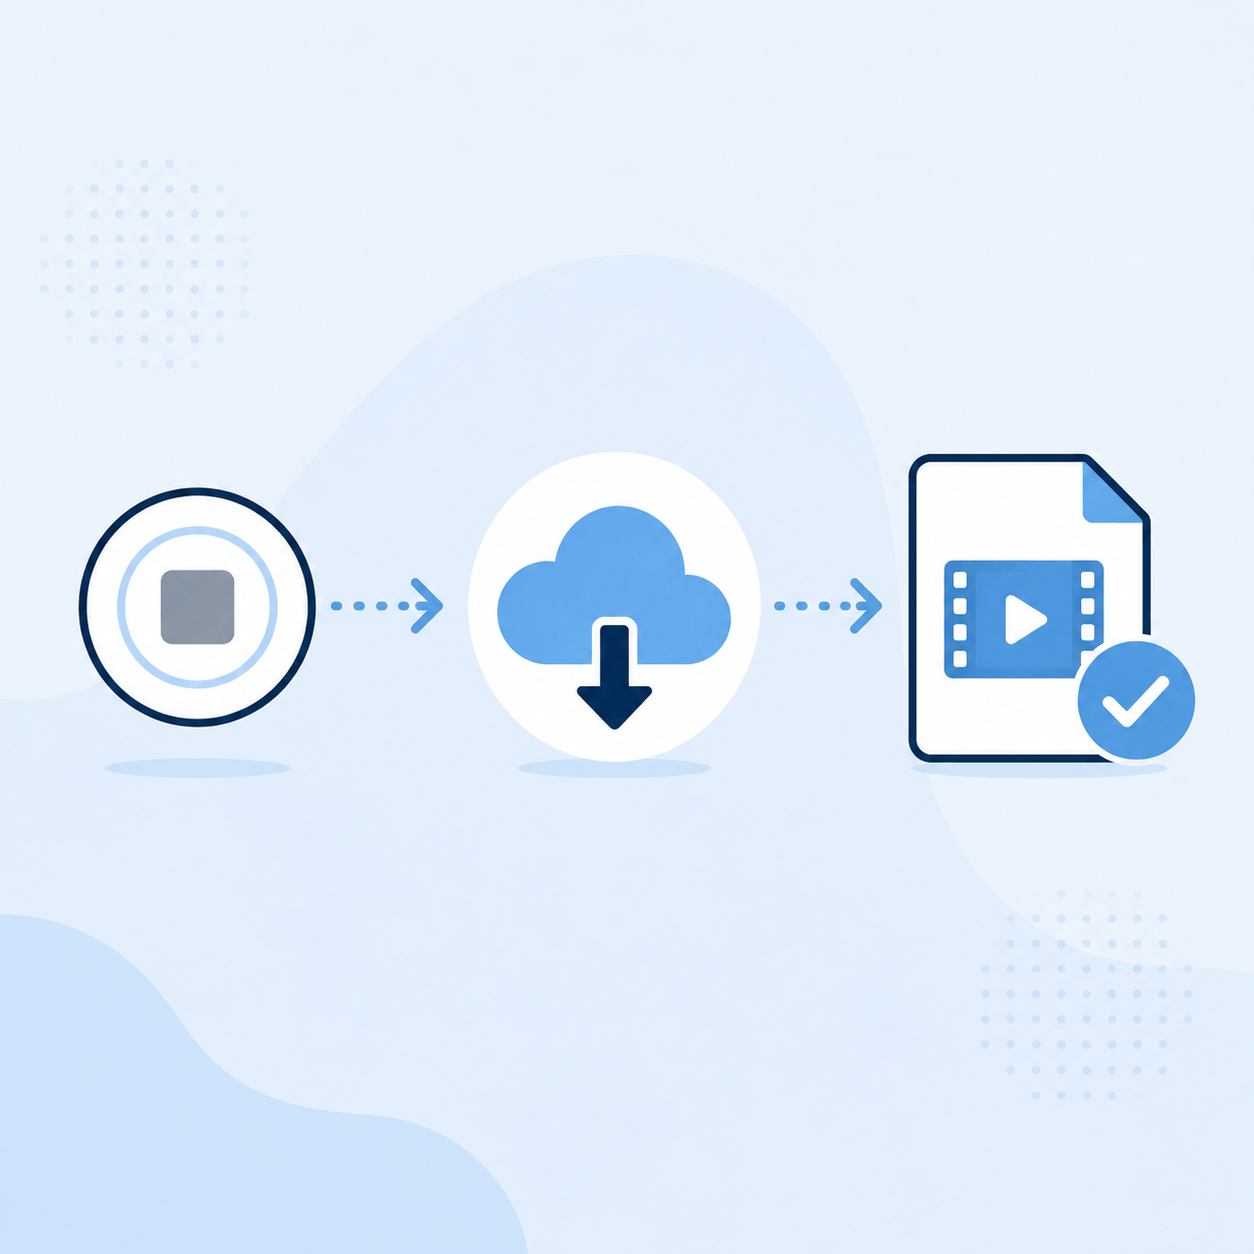
Once finished, return to “More actions” and select “Stop recording,” then end the meeting. Teams processes the recording automatically — this can take a few minutes depending on length — after which a link appears in the meeting chat or Recap tab, and the file is saved to OneDrive.
7. Download and Prepare for Submission
From the chat or Recap link, open the recording and download it to your device. Check the file format and size against what your assignment brief requires before submitting, and trim or re-export it if needed using standard video editing tools.
It’s worth downloading and opening the file to check it plays back correctly before you submit, rather than assuming the recording worked. This takes a couple of minutes and can catch problems — a missing audio track, an unexpectedly long silent gap — while there’s still time to fix them or re-record if necessary.
Before You Start: Quick Checklist
- Slides open and ready to share
- Script or talking points nearby
- Quiet room, camera and mic tested
- Signed in to your university Teams account
- Know your time limit and file format needed
Where AssignPro Solution Fits In
The technical side of recording in Teams is straightforward once you’ve walked through it once. Where AssignPro Solution’s guidance helps most is on the content side — making sure your script, structure, and talking points are strong before you ever open Teams to record, so the technical process is simply capturing work you’re already confident in. If you need help shaping that content first, our dissertation guidance service and blog cover the planning side in depth.
Frequently Asked Questions
Do I need to invite classmates or my tutor to record myself in Teams?
No. A meeting with only you in it is enough to use the recording feature.
What if I can’t find “Record and transcribe” in my version of Teams?
Menu wording and layout can vary by version and by your university’s Teams configuration. Look under the “More actions” menu on the meeting toolbar, or check Microsoft’s official Teams recording support page if it’s not visible.
Does the recording include my shared screen and my camera at the same time?
Yes, when both are active during the meeting, Teams typically records the shared content alongside your camera feed.
How long does processing take after I stop recording?
This depends on the length of your recording, but it’s usually a matter of minutes rather than hours for a typical student presentation.
Can AssignPro Solution help with the content of my presentation, not just the recording process?
Yes — this is the main area of support. Understanding your brief, structuring your content, and developing a script or talking points you can deliver confidently once you’re ready to record.
Is there a limit to how long a Teams meeting recording can be?
Teams recordings can generally run for extended periods, well beyond a typical student presentation length, though very long recordings take longer to process afterward. For a standard presentation brief, length limits are unlikely to be a practical concern.
Can I use Teams on a phone or tablet instead of a laptop?
Teams is available as a mobile app, and recording features are generally supported, though screen sharing and precise menu navigation are usually easier to manage on a laptop or desktop.
How Do I Get Started?
Message AssignPro Solution describing your subject, your assignment brief, and where you’d like support with your presentation content, and you’ll be matched with guidance suited to that need.